# Configure Your OIDC Provider
#### Step 1: Sign in to Google Developer Console
1. Navigate to the [Google Cloud Console](https://console.cloud.google.com/).
2. Sign in with your Google account credentials.
#### Step 2: Create a New Project
1. If you don’t have an existing project, click on the “Select a project” dropdown menu at the top of the page and choose “New Project.”
2. Enter a name for your project and click “Create.” Detailed instructions can be found [here](https://cloud.google.com/resource-manager/docs/creating-managing-projects#creating_a_project).
#### Step 3: Configure Consent Screen
1. In the left sidebar, navigate to “APIs & Services” > “OAuth consent screen.”
2. Choose “External” user type and click “Create.”
3. Enter the required details such as the application name, user support email, and developer contact information.
4. Optionally, add additional details like the application logo and privacy policy URL.
5. Click “Save and continue.” Detailed steps are available [here](https://developers.google.com/workspace/guides/create-credentials#configure_the_oauth_consent_screen).
#### Step 4: Register Your Application
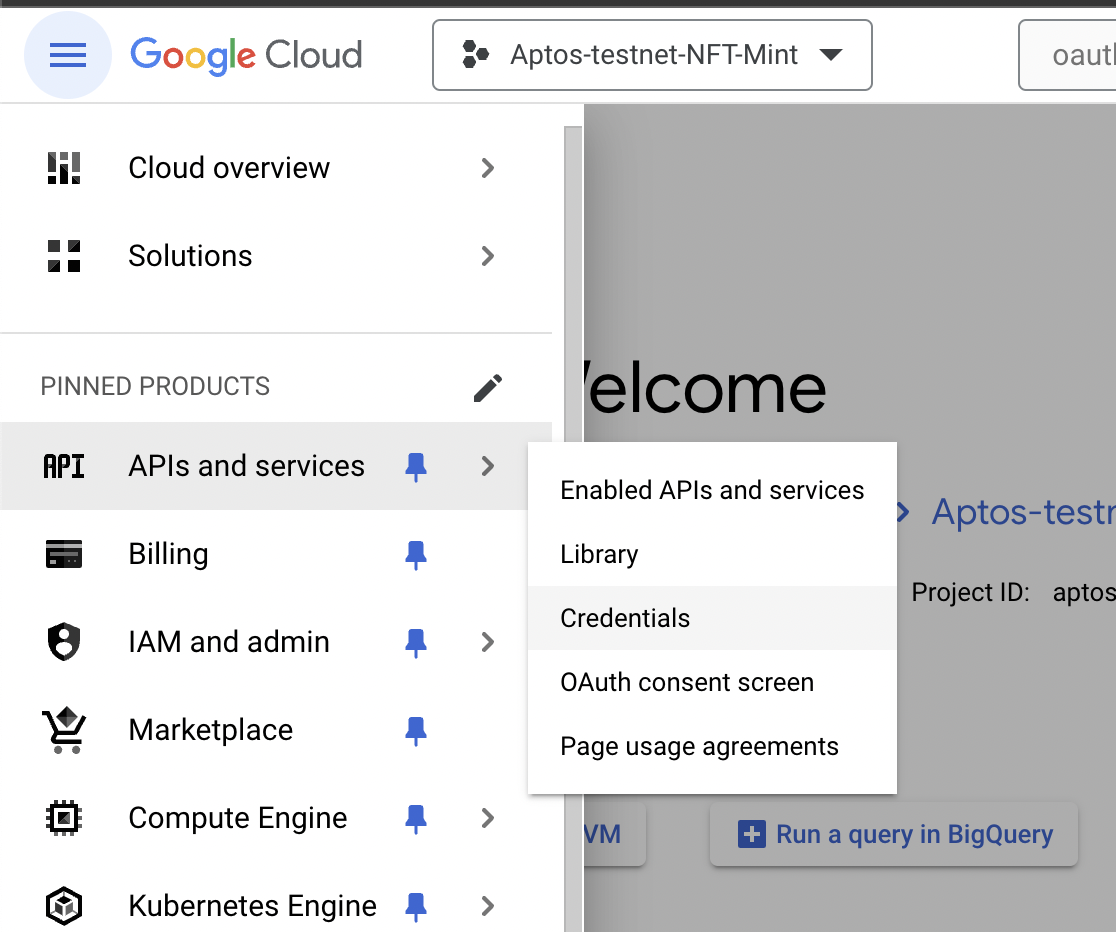
1. In the left sidebar, navigate to “APIs & Services” > “Credentials.”
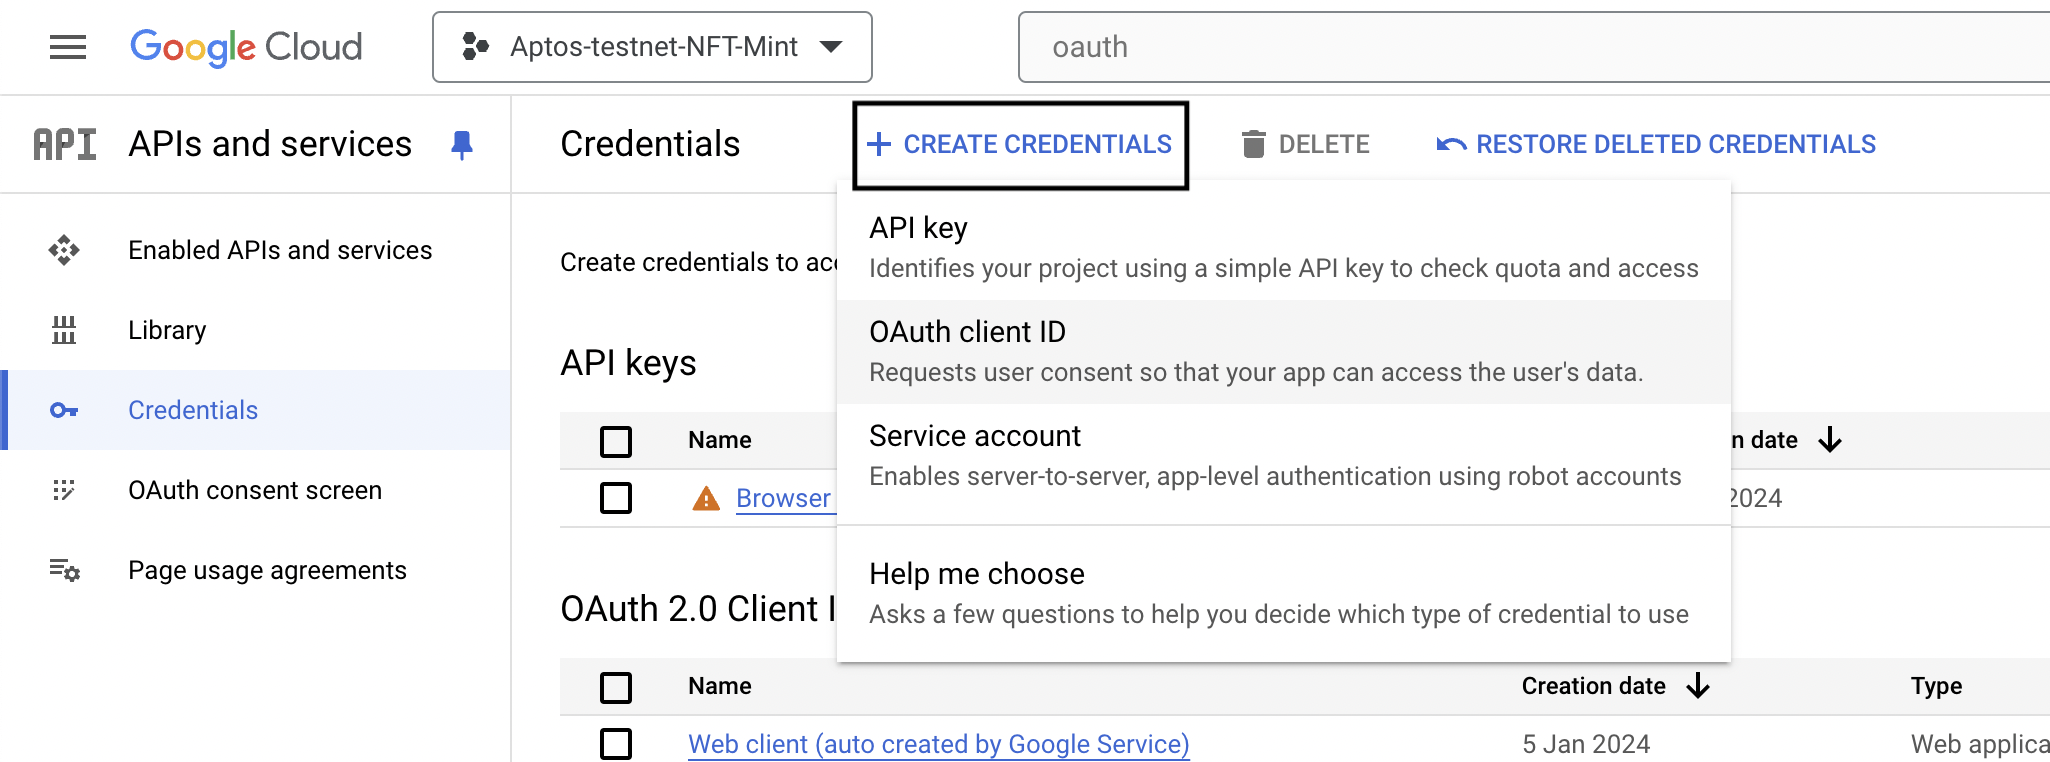
2. Click on “Create Credentials” and select “OAuth client ID.”
3. Choose the application type (e.g., Web application, Desktop app, or Mobile app).
4. Enter the necessary details such as the name of your application and the authorized redirect URIs. For OIDC, the redirect URIs should follow the format .
5. Click “Create.”
#### Step 5: Obtain Client ID and Client Secret
1. After creating the OAuth client ID, Google will provide you with a client ID and client secret. These credentials are essential for authenticating your application.
2. Note down the client ID and client secret securely. Do not expose them publicly.